This article may contain affiliate links. For details, visit our Affiliate Disclosure page.
 When it rains, you are happily watching it as nature is taking care of your garden. However, it keeps raining and you know that it’s too much now. The surplus water will cause many troubles if your garden is not equipped with good drainage solutions.
We assure you that you can fix this yourself as installing garden drainage is not either a complicated or expensive job. Please follow this article.
What Is Garden Drainage?
Garden drainage is a system of channels running around your garden in order to capture water to the stormwater runoff. This sounds a bit complex and you might wonder if your green space needs one?
When Do You Need a Garden Drainage System?
It is really easy to recognize a soggy garden. After the rain, you see there are many puddles on the surface, boggy spots on the lawn or wet ground. In the long-term, this will cause rotted roots, moss presence, and even weeds.
10 Reasons Lead to the Waterlogged Garden
Here are the 10 reasons why your garden is a soggy place.
- Heavy and continuous rainfall affect underground springs
- It is hard for water to absorb through the topsoil
- Your house is located at the lower ground than those of your neighbors
- Building swimming pools or house extension may affect the ground structure to change water direction.
- Your lawn or garden is not even, causing puddles
- You have impermeable areas such as a driveway or patio
- Your guttering is blocked or not connected with stormwater runoff.
- The water table is too high
- Someone’s drainage system run water to your land.
- Your garden was built on a clay layer that does not take in water.
How to Install Surface Garden Drainage System – Simple Trench
What you need to install a garden drainage system are:
- Tools: a string line, rubber mallet, trenching shovel, handsaw
- Set-out paint, silicone sealant
- Grated drainage channels
- Unslotted ag pipe and end caps
- Premixed concrete
Step 1: Plan the Drainage System
First, you need to figure out how the channels connect to each other and to the output pipe. Identify wet areas and use string line and paint to set out the drainage. After that, cut the pipe according to your measurement with a handsaw if necessary.
Then, use the trenching shovel to dig the trench with the dimensions of 130mm depth and 250mm width.
Step 2: Prepare the Drain
Once you finish digging, use silicone sealant to attach the end caps to the pipe.
Step 3: Lay the Drain
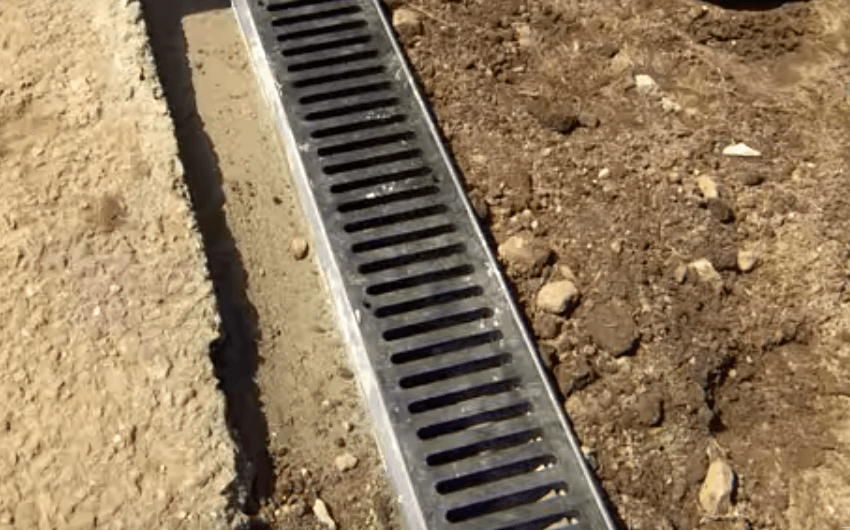
Lay a concrete bed in the main trench, then put the grate in place. You will need to use a rubber mallet to tamp down the grate, making sure that it falls towards the output pipe.
How to Install a Subsurface Garden Drainage System
In some cases, you just need to install a subsurface garden drain if you know the rootzone. You will need:
- Trench liner or drainage pipe, end caps
- Drain matting, blue metal aggregate
- Optional: gravel, timber edging, and drainage pipe
Step 1: Prepare a Trench and Lay the Trench Liner
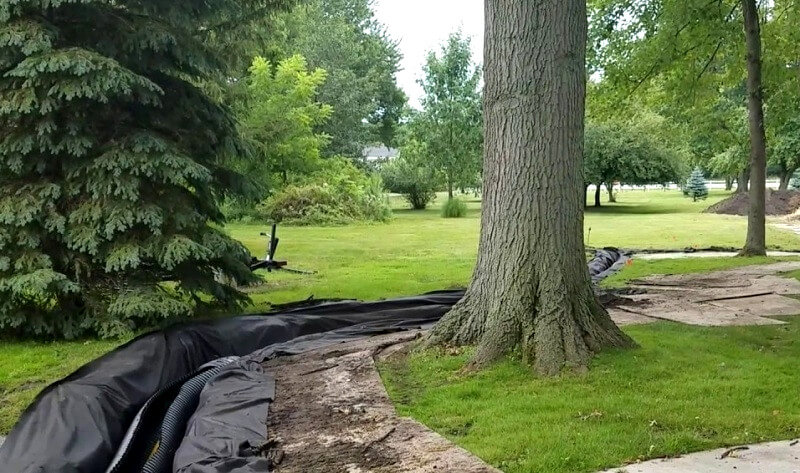
Dig a trench where a puddle exists with a depth of 10cm higher than the trench liner height. The liner will act as a water dispersion. If you want a garden bed, you can use a slotted ag pipe or drainage pipe.
Step 2: Drain Matting and Fill Blue Metal Aggregate
It’s time to use drain matting to cover the trench liner for better water absorption. Then cover the whole thing with blue metal aggregate. Make sure that the layer is at least 30mm deep. Finally, put another layer of drain matting.
Step 3: Mask the Drain – Decorate Your Drain System
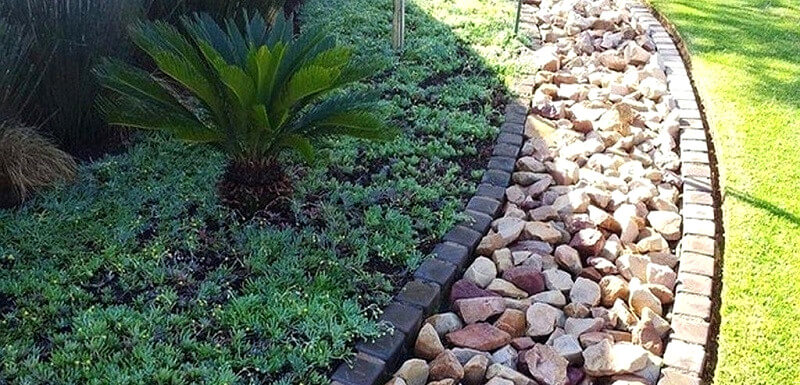
Finally, to bend this system with nature, you can put a layer of gravel (pea gravel will be nice) or turf. If you choose an aggregate to put on top, make sure to constrain it with timber edging.
Drainage Solutions: Other Popular Systems
There are a few options that you can apply to your garden. Please consider carefully which option is the best for your space before starting any digging work. Also, you should check with the local council before touching the ground.
Here are the three common drain systems.
French Drain
This French trench is used to divert surplus water to a drain. The common sizes are 30cm in depth and 15cm in width. A French drain is a simple method and you just dig one trench. This is how you do:
- Identify a slope in the garden and dig a trench towards the drain. Use a string line to adjust the trench slope all the time.
- Cover the trench bottom with landscape fabric
- Fill a layer of gravel into the trench, then wrap the fabric over it (the aim is to let the water run freely through gravel)
- Put another layer of gravel on top of it, remember to preserve the slope
- Finally, cover the entire trench with topsoil
Herringbone Drain
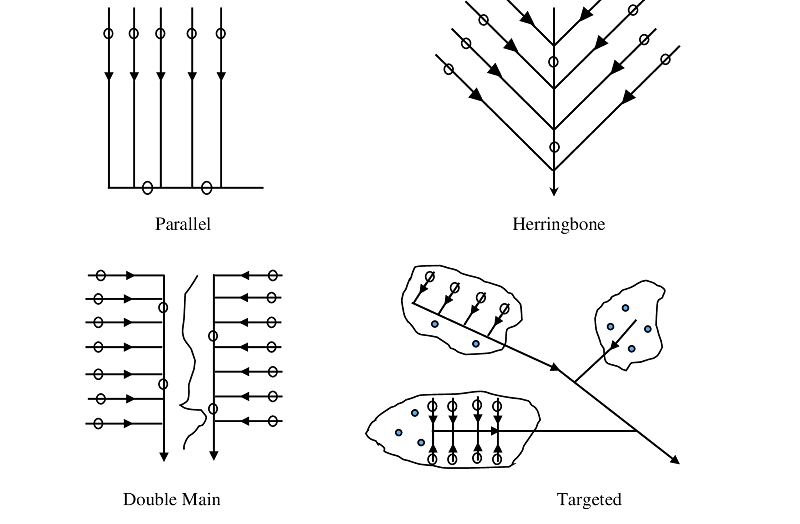
If there are several low spots in your garden, you will need a Herringbone drainage system to solve the problem.
Unlike the French ditch, the Herringbone drain consists of many trenches that connect to the main trench. However, this drainage is also built on a slope to redirect the water. Here is how you do it:
- Determine the highest and the lowest part of your garden for the main trench, then mark it with set-out paint
- Identify and locate the side trenches, then join them with the main trench at a 45-degree angle, so that the whole system looks like a herringbone pattern.
- Keep the distance among the side drains. For clay soil, an interval of 3 meters is ideal, and it is 7.6 meters for loamy soil.
- Cover the trenches’ bottoms with landscape fabric
- Fill a layer of gravel into the trenches, then wrap the fabric over them
- Cover the entire system with topsoil and dig a big hole (around 1-meter deep) as a well for the water to slowly absorb into the soil
- Connect the main trench to the center of the well.
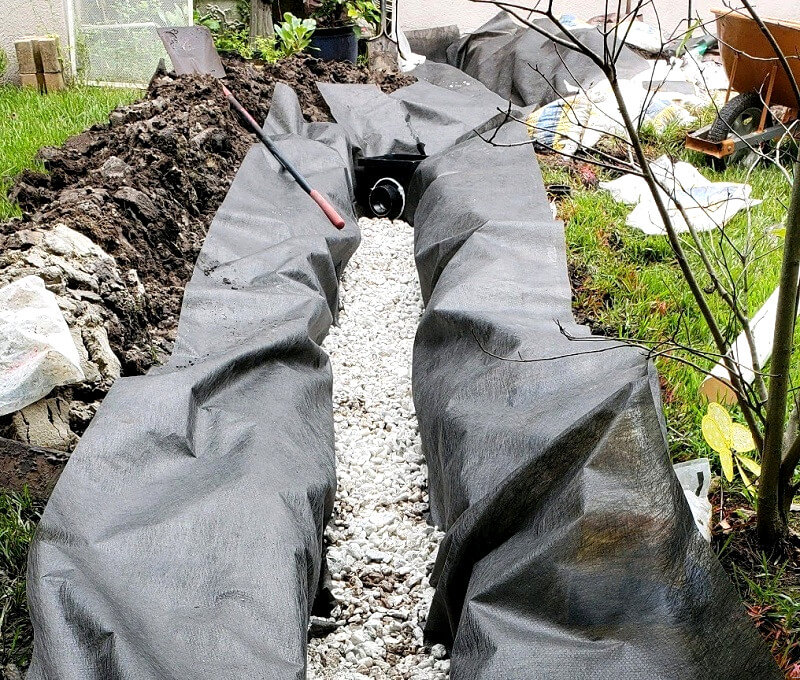
Piped Drain
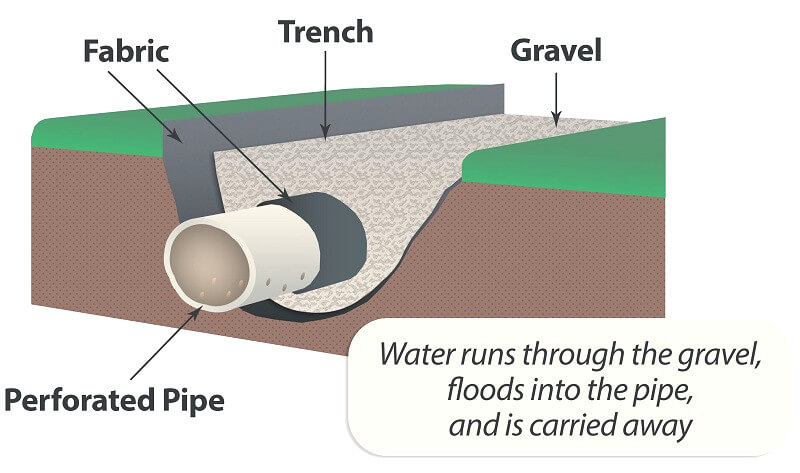
This piped drain technique is similar to the two systems above. You need to build it on a slope, add landscape fabric and gravel to the trench. The major difference here is that this technique needs a perforated drain pipe inside the trench.
With perforated pipe, the water goes into the trench, through the gravel and then it will enter the pipe from every angle. This means the water will run off quickly from every part of your garden, not just the lowest areas. However, remember to place the holes point down, so the water can reach the holes quicker.
Which Drainage System Is for You?
Consider how serious your soggy garden is, then select the one system that best suits you. If you just have one annoying puddle in the garden, the French drain is the way to go. Otherwise, you need to build a Herringbone or piped drain.
If you find this article useful, please share it with your friends. Also, check out more DIY guides in our Blog section too.