This article may contain affiliate links. For details, visit our Affiliate Disclosure page.
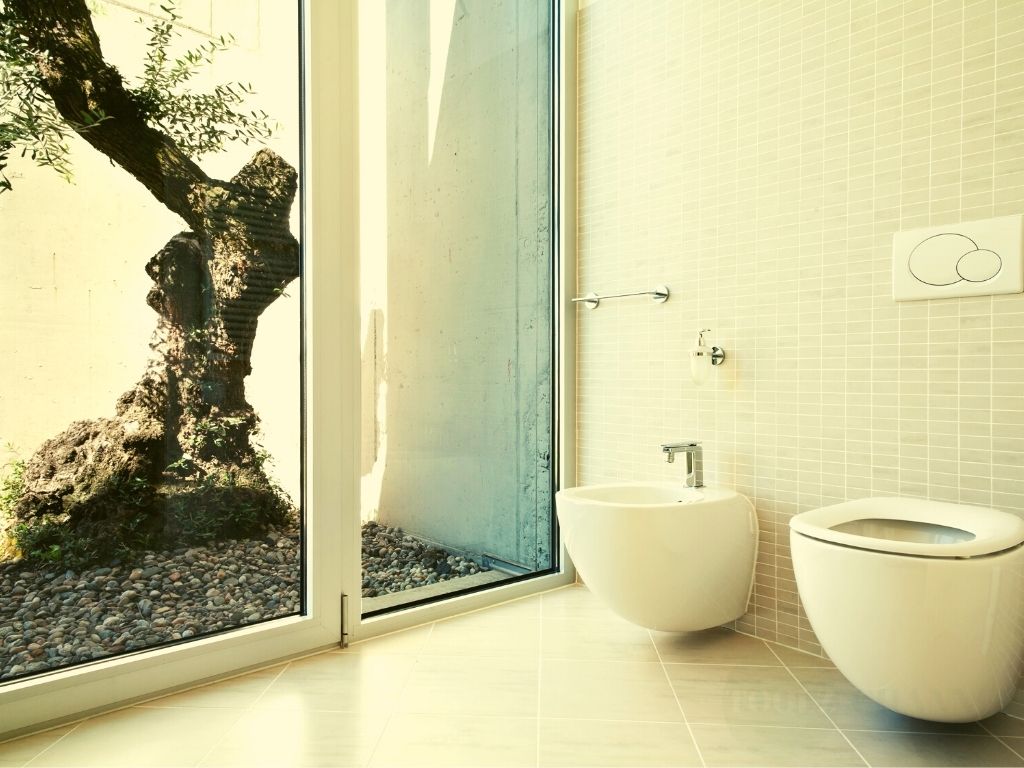 Tired to look at loosening tiles or moldy grout? Just got your free time to regrouting tiles right now. You’re covered. This easy-to-follow step-by-step guide to regrouting shower tiles will show you how it should be done! You’ll be surprised by the new look of your shower wall!
Well, what tools and materials do we need to start this project?
Required Tools and Material to Regrout Shower Tiles
Tools
- Caulk gun
- Dust mask
- Grout float
- Safety glasses
- Vacuum cleaner
- Utility knife
Material
- Sealing Caulk
- Grout
9 Steps to Regrouting Tile Like a Professional
Step 1 – Choose Grout Color
Are you planning to regrout tiles for the whole bathroom? Then you should choose a color that matched with bathroom tiles. On the opposite, regrouting a small area of bathroom or shower only? Then the wise choice should be matched with your old grout color.Step 2 – Remove Unwanted Old Grout
With an area that has losing grout, using a utility knife is just enough to remove. Remember to wear your safety glasses and a dust mask for your safety.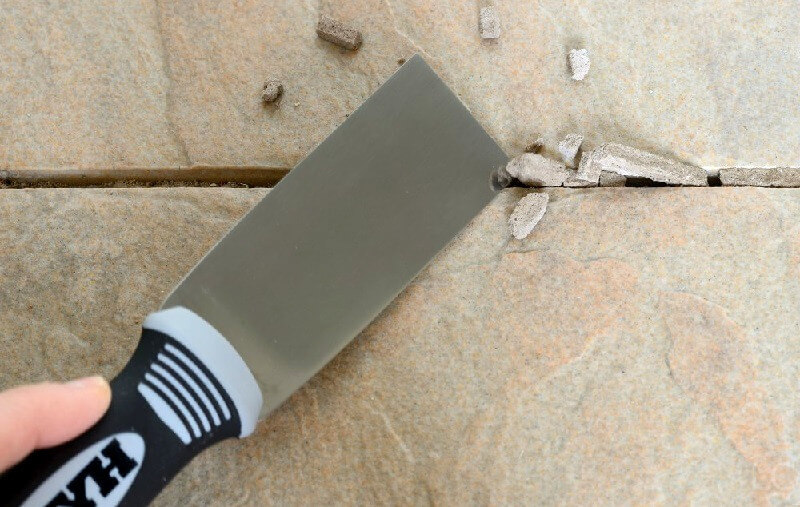
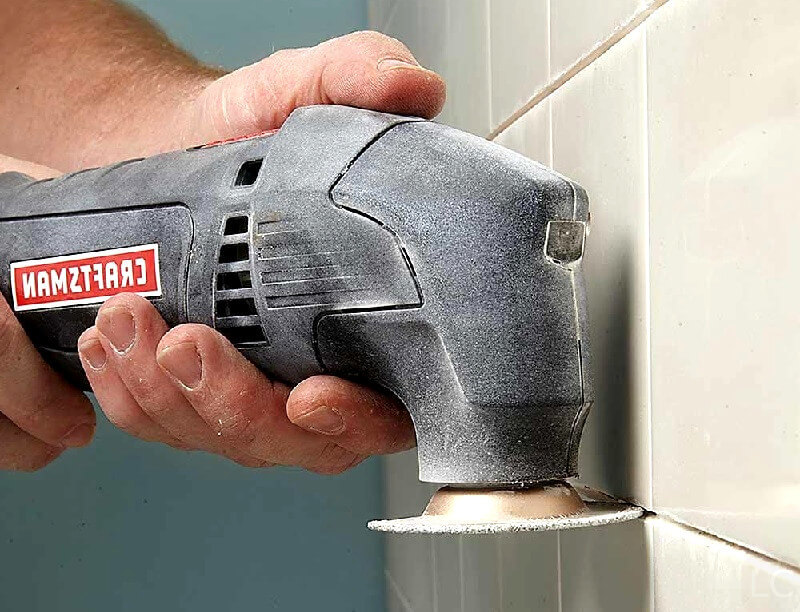
If you want the grout to look completely new, you might consider using a grout saw. It helps to carve deep into the tile gaps.
Step 3 – Quick Clean the Tiles
To remove completely debris from tiles and gaps, use a home vacuum cleaner should suffice. Alternatively, you can clean the area with a cleaning mixture of water and detergent.Step 4 – Prepare Grout Mixture
We recommend using premixed grout, but if you bought another type, just mix as instructions. Also, the best grout is the type that modified with latex. It helps water-resistant as we’re applying in a wet area like showers and bathrooms.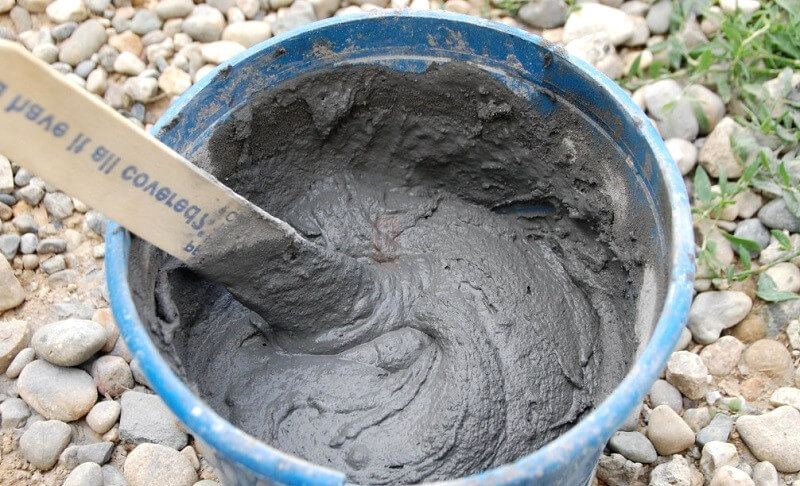
Step 5 – Apply Thoroughly Well-mixed Grout
After the mixture made in a toothpaste-like state, use a gloat or squeegee to apply grout thoroughly into gaps between tiles. Leave it be for about half an hour, then use a damp rag or sponge to remove away any excess grout on tiles.Step 6 – Polish/wipe Tiles With a Dry Rag
Wait until tile grout has completely dried, you should use a clean dry rag to buff-off any unwanted grout left. Better to use a white rag, as dyed rag could leave its color on grout, you absolutely don’t want that.Step 7 – Seal the Grout and DONE
If you’re in a hurry, use a hair drier or blower to dry the finished grout. Otherwise, it’s best to leave it cured for 2 days. Then grout sealer should be applied on by a paintbrush. Remember to carry a clean cloth, use that to wipe and clean tile edges as you go.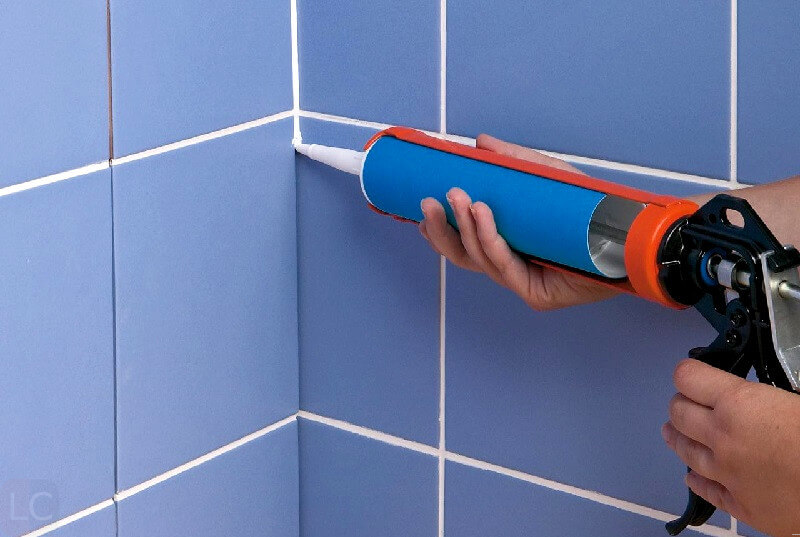
To prevent mould and dirt from appearing on tile grouts, grout sealer is the only solution.
Regrouting Shower Tiles – When?
You’re not sure when do you need to perform regrouting? You should know that moisture/water flowing or just seeping through damaged grout can cause expensive damage to your home. So, check out if your tile grouts are in one of the following cases:- Tiles are about to come off – Too obvious to need regrouting immediately
- Missing grout between tiles – regrouting ASAP when you have the time
- Tile grout started to crack and flake down once in a while – need regrouting very soon.
- Persistent mold even after cleaning and keeps coming back – regrout soon
- Grout in colored situation after cleaning – regrout soon
Which Areas can do Regrouting?
Well, that’s easy to figure out. Anywhere in the house that you have tiles in place. For example:- Showers floor, Shower walls
- Lavatories area
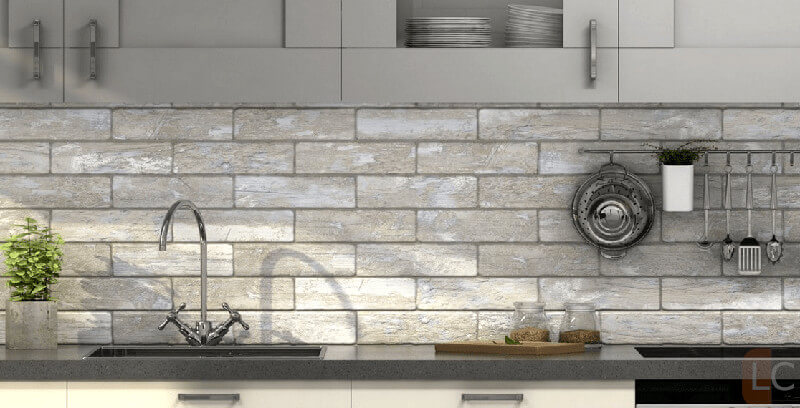
- Kitchen splashbacks with tiles
- Living room and Bathroom Floors
- Balcony or Porches floor
- Tiled poles
- Chimney
Regrouting Bathroom Floor – What’s the Cost?
Well, it really depends. If you are planning to do it yourself, it might cost from $50 to $200. It’s up to how much you want to spend on the materials and tools you already have. If you are going to hire someone to do grouting, it could up to between $250 – $1,000 for regrouting 100 ft square of tile. Also, depending on your location, it could be as low as $180 or as high as $3,000.Regrouting Shower Tiles Cost?
As answered in the previous section, it would cost around $50 – $200 for this DIY job. But it might sky up to $180 – $3,000 if you plan to hire professionals. It really depends on your location, so pick up your phone and call a nearby agency.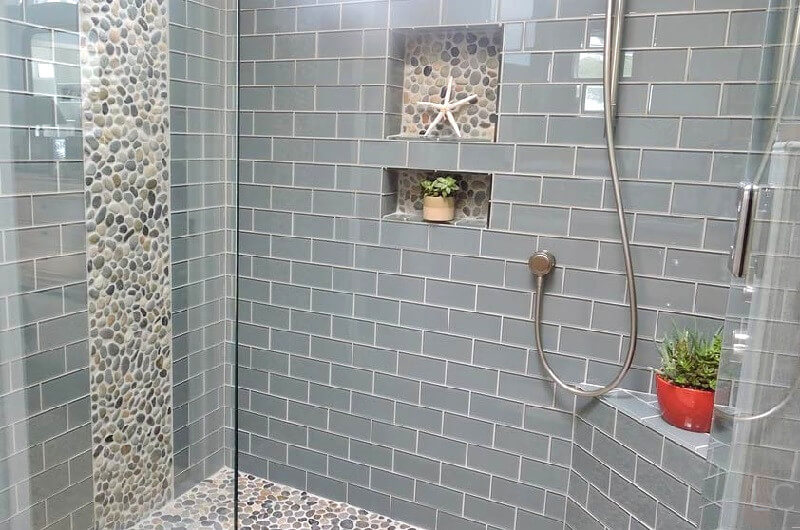
How to Regrout Tile Without Removing Old Grout on
Use a rubber grout float to spread evenly grout into tile gaps and remove excess grout with its edge like a squeegee. You might use a damp sponge to wipe off unnecessary grout on tiles. Let the grout some time to dry then you just easily clean the tile surface with water or a wet rag.How to Regrout Ceramic Tile – Any difference?
No, it should not be any different. You can, of course, follow our guide with the 7 steps above. Hope you find it easy to follow.Final Word – Regrougting Tiles Easy Peasy!
I really hope you find this DIY guide easy to understand and perform. By following this article, you should have a brand-new look, a stunning look for your bathroom (or whatever areas) walls/tiles.