This article may contain affiliate links. For details, visit our Affiliate Disclosure page.
You want to tile a kitchen floor or a bathroom wall? Do you wonder if you can make it a DIY project? And the answer is absolutely yes. Lay tile is not as hard as you think it is. With the instructions in this article, you can learn all the tricks and techniques about tiling to transform the look of your home.
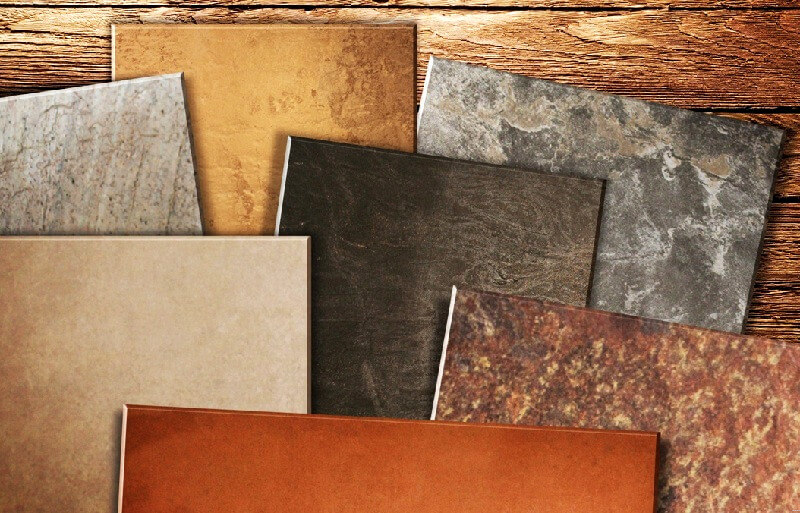
Why Should You Choose Porcelain for the Bathroom?
The bathrooms, being areas exposed to humidity, with high traffic and special cleaning needs, must be covered by a material suitable for these requirements, does not serve any type, so in this project we chose porcelain.

Porcelain tiles are highly recommended for the bathroom or kitchen because it is not covered by enamel, its finish is usually polished or polished of great durability and with very low water absorption.
As it has very low water absorption, it will not allow mushrooms to flourish. In addition, being harder and more resistant, they can be installed between palms, without setting, which also prevents the appearance of fungi.
Other porcelain characteristics:
Porcelain is not only suitable for the bathroom or kitchen, but it can also be used outdoors or in high-traffic areas such as a living room, corridor or shopping center. It has a longer duration in time, has great resistance to temperatures, is very hard so it can withstand shocks and costs a lot of scratching.
Tile Laying – Tools and Materials Checklist
Tools
- Chalk line
- Levels
- Tape measure
- Wet saw/ snap cutter
- Tile spacers
- Notched trowels
- Sponge
- Rubber mallet
Materials
- Tiles
- Powered adhesive
- Silicon sealer or waterproof banding
- Primer
- Grout
Bathroom Flooring – 10 Steps – How to Lay Floor Tile
Step 1: Calculate the Quantity of Material
Estimate the quantity of material that will be needed in the project, for this it is necessary to consider that each box has written on the package the m2 that it covers or the number of tiles that it brings.
To cube the walls it is necessary to add the linear meters and multiply the result by the height of the room. And this result is subtracted from the measurements of doors and windows.
It is always advisable to carry an additional box of material for future contingencies. Now, if we were talking about a large installation, it would be considered a 10% loss.
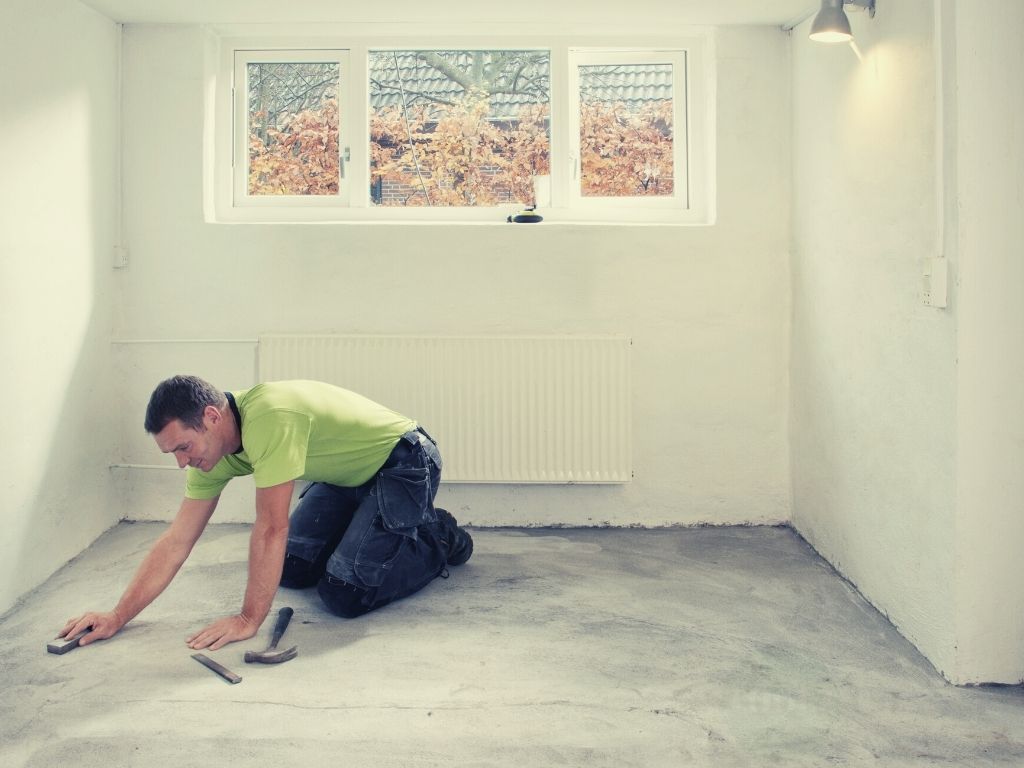
Step 2: Prepare the Floor Surface
For the bathroom floor, you need to apply a layer of waterproof primer before tiling. Then, run silicone sealer along with all the corners. You can also use waterproof bands. Finally, apply another coat of waterproofing membrane.
For drainage purposes, keep the floor on a slope.
Use chalk to divide the room into quadrants, you will start tiling from the center point.
Tip: You can lay dry the tiles to see how it looks, and to minimize the small cuts.
Step 3: Prepare the Wall Surface
It is also recommended that the walls are concrete or stuccoed.
The surface must be washed with water. It doesn’t matter if it gets wet, as this will prevent the mixture from dehydration, this is called a “saturated surface”.
In the case of partition walls, it is recommended to install textured fibrocement first, as it will have the rough surface necessary for the adhesive and the tiles to have a better grip.
Note: For the bathroom wall, remember to waterproof the wall first.
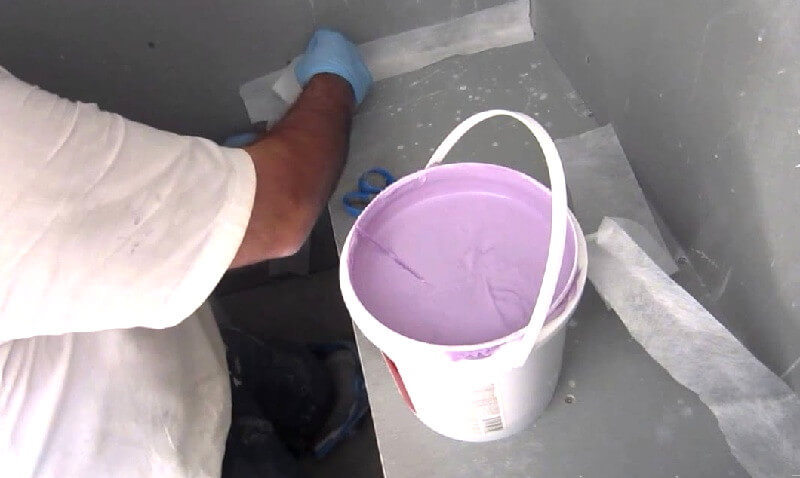
Step 4: Prepare the Adhesive
- Pour the powdered adhesive in a bucket and add the little water, stir with a flat until you have a homogeneous and thick paste, like toothpaste.
- The powdered adhesives are predosed, this means that it comes with all the necessary additives for a correct adhesive paste, you only have to prepare with water. The one chosen for this material is EF for stones and porcelain, marble, granite and stone coatings, which are the heaviest and thickest. Another advantage of this type of adhesive is that it avoids the loss and unnecessary stockpiling of material.
Step 5: Lay the Tiles on the Floor
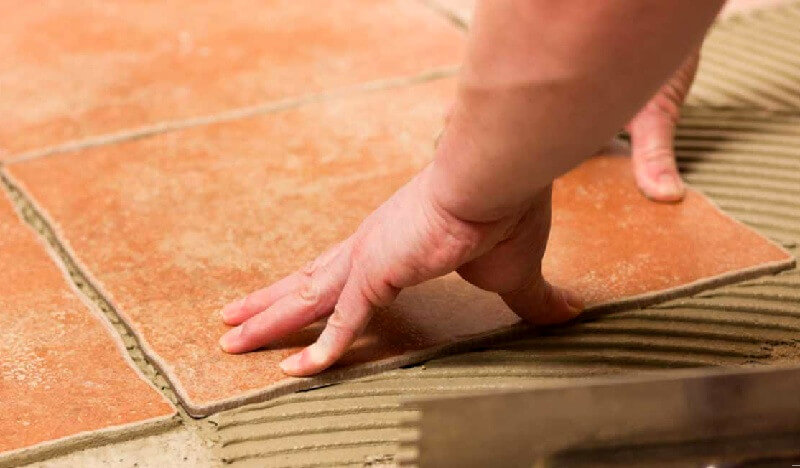
- Starting with the center point of the quadrants, then follow the line.
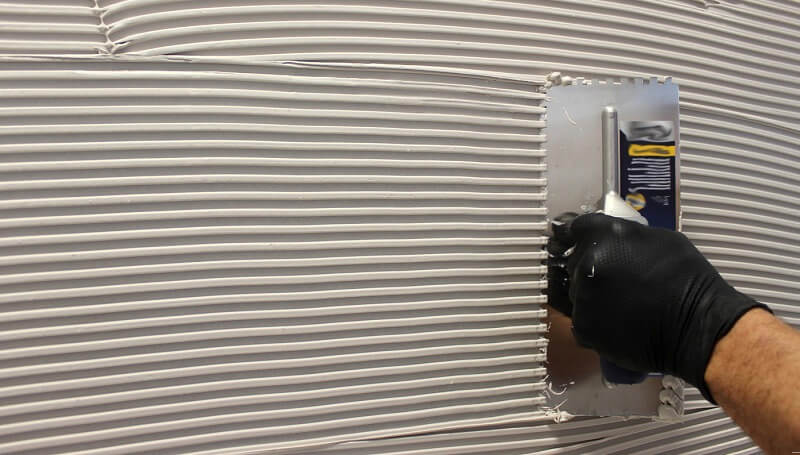
- Tiles gluing is done with a notched trowel, as their teeth leave adhesive strips necessary for a better grip, and the spaces without adhesive are left with air that will be sucked once the tile is seated, this also helps the adhesive to dry better.
- Use a notched trowel to spread the adhesive over a small area only (like 1m2) to work on. This prevents the adhesive from drying.
- Place the tiles on the adhesive, then use a rubber mallet to gently tap on.
- Between each run of tiles leave the plastic spacers as you go.
Note: Leave a small gap between the floor tile and the wall if you tile the wall later.
Step 6: Straight Cuts on Tiles
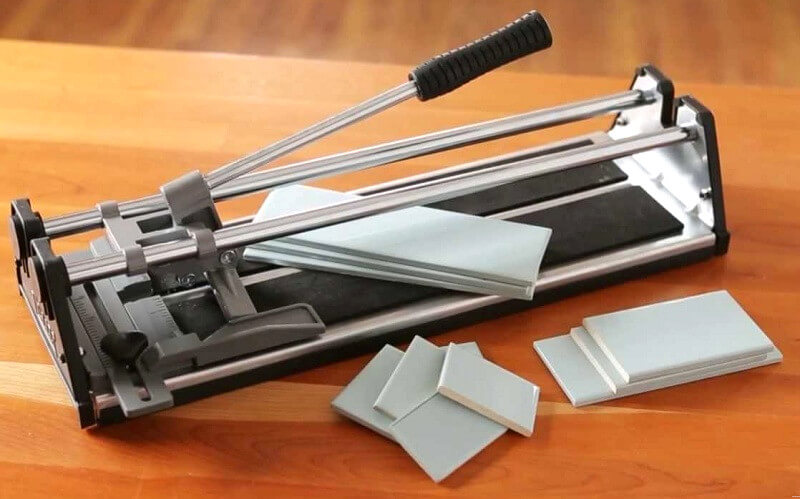
If planned correctly, you can do all the cuts for the rows end and corners before beginning.
For a small job you can use a snap cutter, otherwise, a power wet saw is an option for you.
Step 7: Curved Cuts in the Tiles

- To install tiles on the floor and wall it is necessary to make some curved or circular cuts to make coincide with the flush of the WC and the water exits. These cuts are made with the angle grinder and a diamond cut-off wheel. The cut on the tile must be 3 mm larger than the diameter of the drain or water outlet.
- To check the levels, it can be done with a lead and hose with water or with a laser level that rectifies slope and collapse.
- To fix a horizontal line, for example to the 50 cm, and to rectify with a huincha the distance with the floor, measuring in several points of the line. Where the greatest unevenness is to put the horizontal line of the laser to 60 cm, which is the height of the palmette. The idea is to cut pieces of the tiles to correct the unevenness, and not add small pieces that visually will not look good.
Step 8: Install the Tiles on the Walls
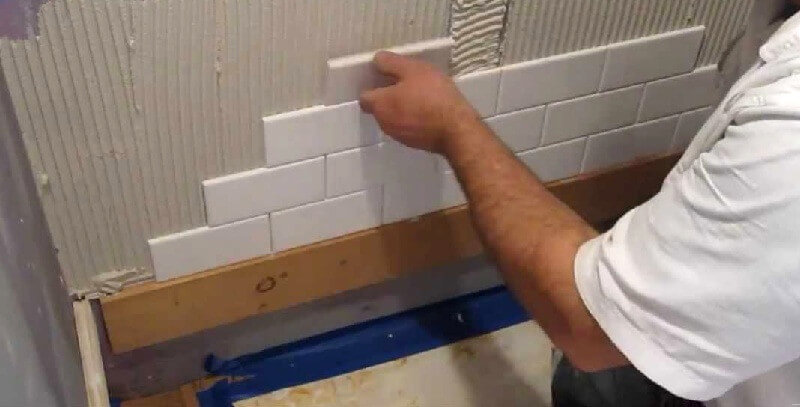
- This is similar to lay tiles on the floor, except that you will lay row by row at a time
- Use a suitable notched trowel to spread out the adhesive ( 8mm for tiles smaller than 300x300mm; 10mm or 12mm trowel for bigger tiles)
Step 9: Grouting
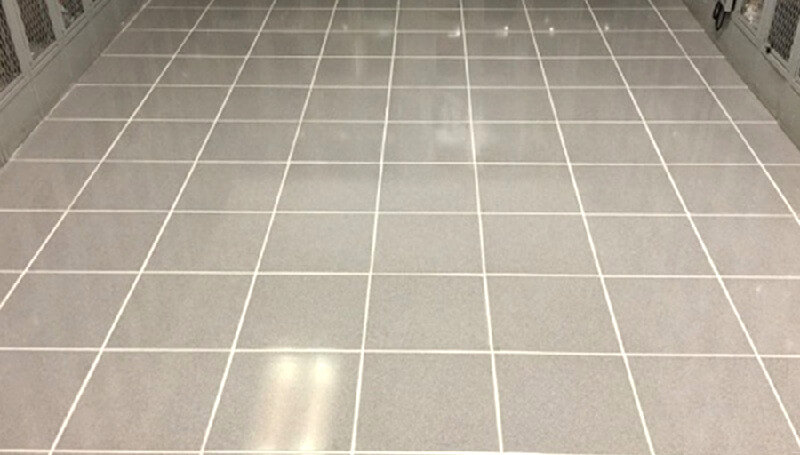
Grouting is the last part and if done nicely, it will make your finishing like a pro.
- Mix the grout to a thick consistent paste
- Apply it into the joints using a trowel, make sure it completely fills in the joints
- Using a sponge to wipe the excess grout diagonally as you do
- Once the adhesive sets, clean the tiles but do not get it over wet.
How to Tile – Frequent Asked Questions
How to Tile a Wall? Anything Different Than Tiling a Bathroom Floor?
Yes, there is a small difference. When you install tiles on walls, you will lay tiles row by row. And you will use a smaller type of notched trowel for adhesive spreading.
How to Paint Tiles if I Don’t Want to Replace Them?
That’s even a lot easier than laying new tiles. Check out our guide on How to paint over old tiles!
Last Thought – How to Tile? Easily done!
Tiling a new floor is not an easy job but it is still within the scope of DIY. If you are careful and have eyes on details, you can totally crack it. Check out more renovating ideas in our Blog section for more guides and tips.
Check out this video to see How professionals install tiles!
If you find this article is useful, please share it with your friends.