This article may contain affiliate links. For details, visit our Affiliate Disclosure page.
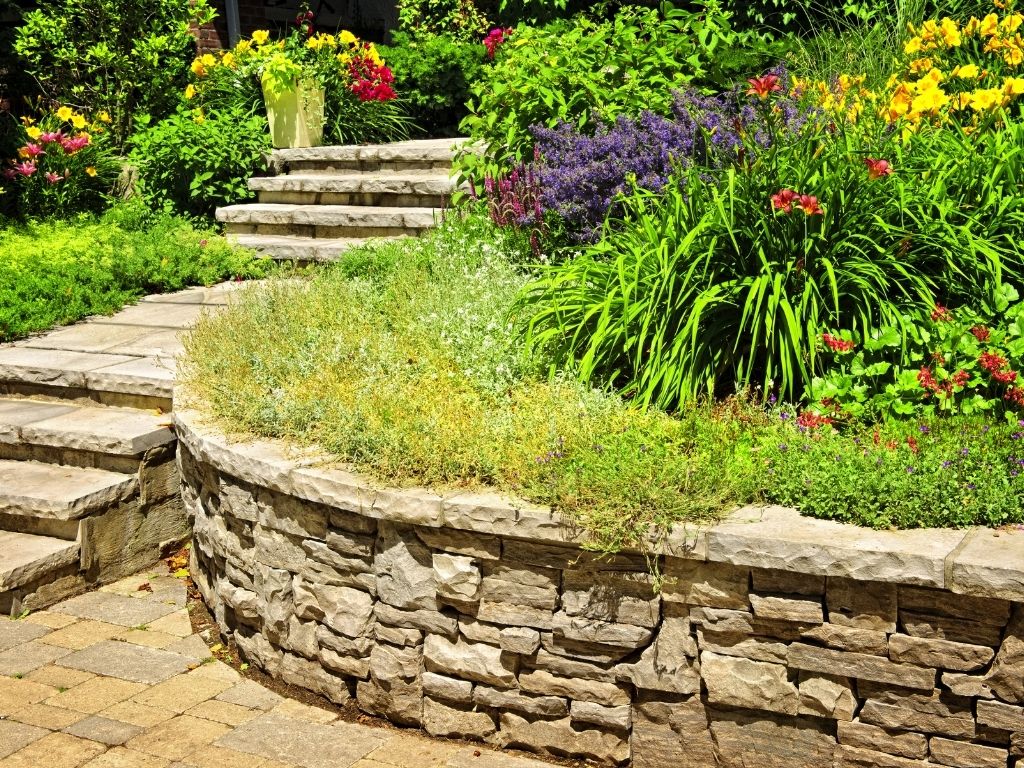
Your landscape or garden looks quite plain or you want to restructure your hilly landscape to avoid erosion, then you probably consider build retaining wall in your area. The retaining wall not only solves the unstable land problem but also can be a landscape feature of the house. With numerous types of retaining walls, why don’t you pick one of them and improve the beauty of the house?
What is a Retaining Wall?
A retaining wall is a structure that helps to resist the lateral pressure of the soil or just to hold the soil. For this reason, you can totally use the wall to make the most use of your garden space.
There are many types of retaining walls, depending on which material is used to build the wall: concrete block, timber or stone, etc…
Build Retaining Wall – Tools and Materials Needed
Here we will show you how to build a concrete block retaining wall, and what you need are:
Tools:
- Rake
- Spade shovel and flat-nosed shovel
- Digging spike and pick (for rocky soil)
- Tamper
- Torpedo and 2-4 foot Levels
Materials: Concrete blocks and crushed rocks
How to Build Retaining Wall Step by Step
Step 1: Make a Plan
Two things you need to determine: the length and the height of the wall
If the wall is over one meter high, you probably need to check with your council first before putting in on.
Once you got all the dimensions needed, gather your materials.
Step 2: Preparing the Trench – Wide, Deep and Level
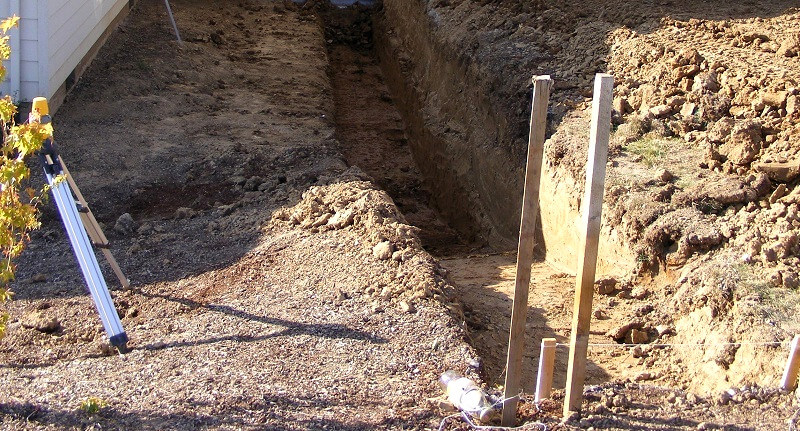
First, you need to decide the size of the trench. It should be wide enough so there is some space before and after the wall. Later, you will fill it with gravel or soil. It is suggested that you leave 8 inches in front and 8 inches behind.
The trench should be deep enough to bury one and a half layer and the base material to stabilize the wall.
Then, use the levels to level the trench perfectly.
Step 3: Compact the Trench and Lay Crushed Rocks Base
Now, you can use the tamper to compact the trench. People may neglect this step but this is the most important task. You may need to tamper twice if necessary. Loose soil will affect the structure of the wall later.
Then, line the bottom of the trench with a layer of crushed rocks. Remember to tamper it well.
Step 4: Lay the First Layer as Planned
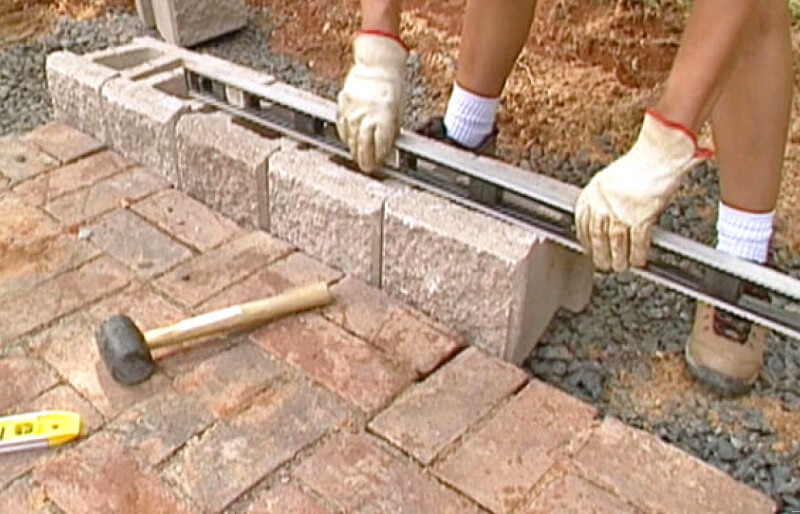
The first layer is the most important one and you have to make it right. This layer has to be perfectly leveled and be in the center of the trench.
Use the torpedo level for each block you put down. Even if a block is slightly uneven, you need to adjust the base of that block. This is a time-consuming step but it’s worth it.
Note: Once you finish the first layer, sweep before stacking the next one.
Step 5: Lay the Next Layer as a Step-up Course if Required
If you build a wall up a hill, you need to step up the bottom. Therefore, you can continue the base for each course into the hill.
Note: It’s better to use the cheapest blocks for the lower base as it won’t be seen.
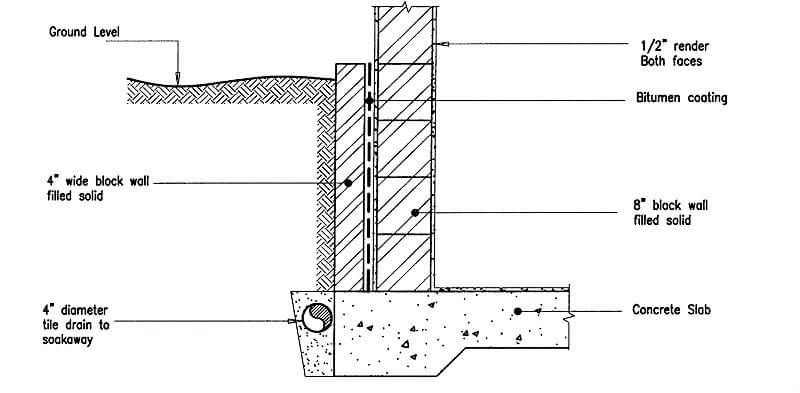
Step 6: Install Wall Drainage if Needed
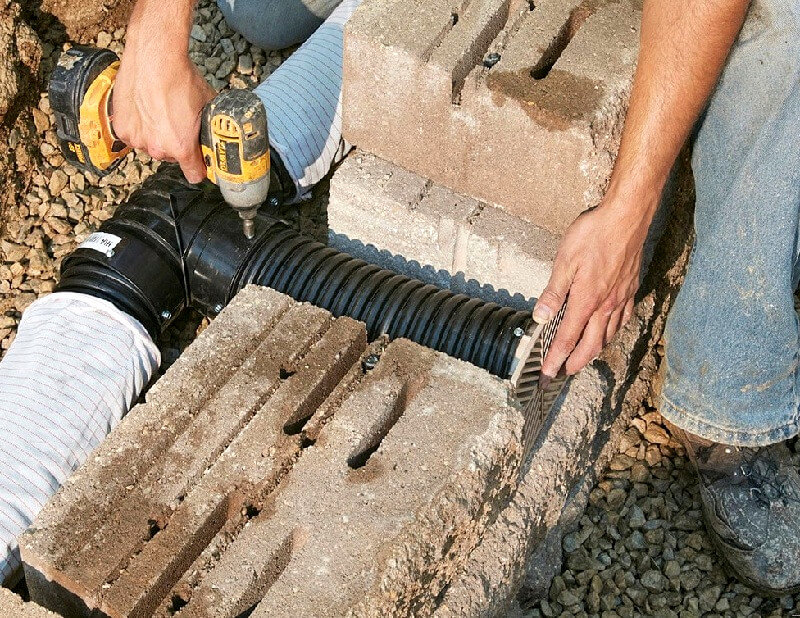
To have a long-lasting wall, you need to install wall drainage.
Once completing the first few rows, you need to backfill the wall with rocks and tamper down. After that, place a perforated drain on the rock surface. You need to install a drain grate and drain tee fittings every 25-50 ft.
Step 7: Join the Blocks Between Layers
It depends on which type of block you are using. Some you do not need to use butt at all. They are interlocked. Some types of the block will connect by joints.
Note: Do not forget to backfill the wall with crushed rocks as you go.
Step 8: Install Capstones With Alignment
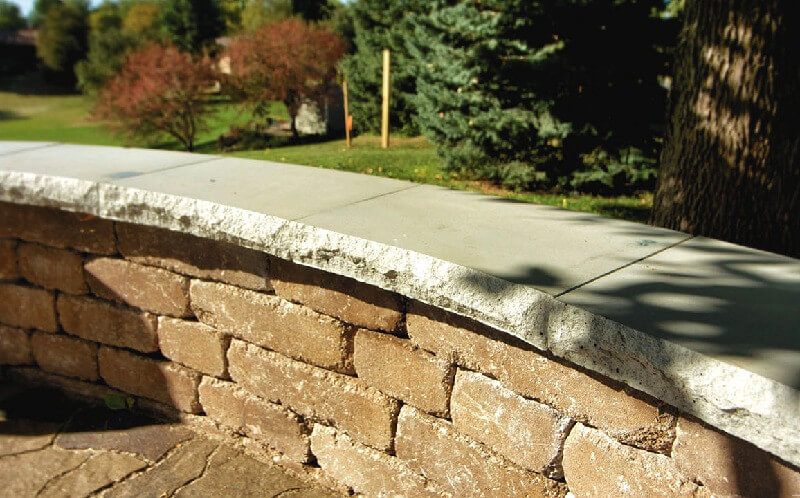
For the top layer, you will use a special landscape adhesive or glue to keep them in place. Apply the glue to dry blocks only. Actually, you can apply adhesive to the top two layers for extra security.
Note: Make sure the blocks are dry.
Frequently Asked Questions
Which Retaining Wall Blocks Are Best?
There are 2 types of blocks: solid blocks and hollow ones. The solid blocks are heavier but more durable than the hollow ones. However, if your house is not on a sidehill and you intend for a low retaining wall, then hollow and light blocks will suit you.
For solid blocks, Versa-Lok blocks are preferred as they are pinned blocks. They are suitable for all curves and easy to stack up. Other block types are held together with lips. And lipped blocks are likely to crack.
Using Block Splitter or Gas-powered Cutoff Saw?
At some points, you will have to cut some blocks. You possibly know some manual ways to deal with this but they will be really time-consuming. For a quicker technique, you have two options for cutting, bock splitter or gas-powered cutoff saw.
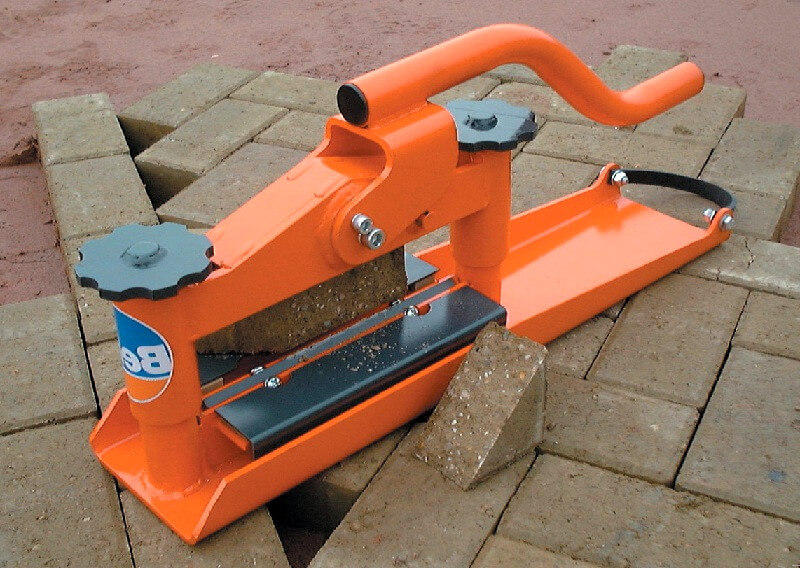
No one can deny that using block splitter is much cleaner than the gas-powered cutoff saw, which creates too much dirt. However, the splitter will leave a rough surface. If you need smooth finishing, then use a gas-powered cutoff saw.
Note: you can rent these tools for less than $100 per day.
Build a Timber Retaining Wall?
Another option for a DIY retaining wall is a timber wall. It is easy to make and blend in well with the landscape. However, the timber retaining wall will be straight.
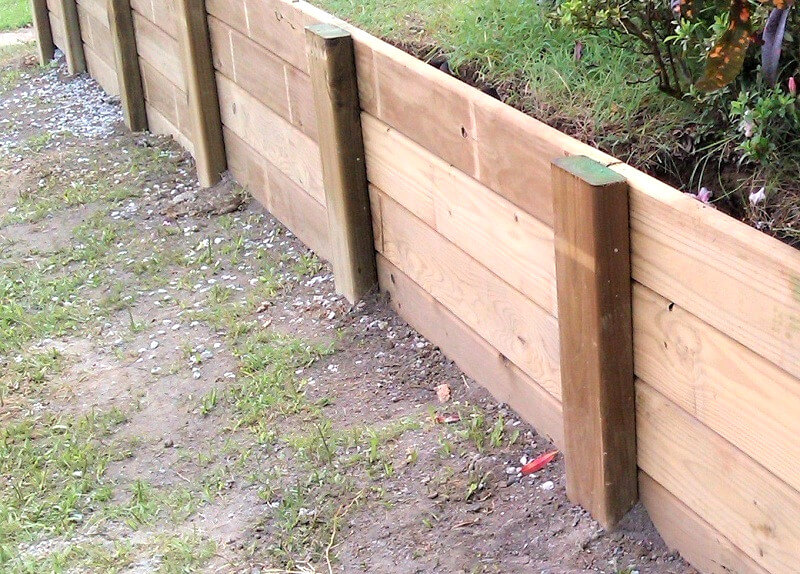
You need wooden sleepers for this project. For detailed instructions, please watch this video.
Final Thought
Now I bet you know how amazing a retaining wall is for your garden. It gives your garden more space and a better look. And yes, building one yourself is totally possible, it saves you lots of money and a great sense of fulfillment. Now, roll your sleeves up and do it.
If you find this article is helpful, please share it with those you love. And don’t forget to check out more guides and tips in our Blog section!